
When we started taking the idea of transforming the Shut into a comfortable sleeping and living space seriously, I begun to search the internet for off-grid heating options. We didn’t have solar power set up so the obvious solution was to install a wood burner. Afterall, we had plenty of fuel for a fire.
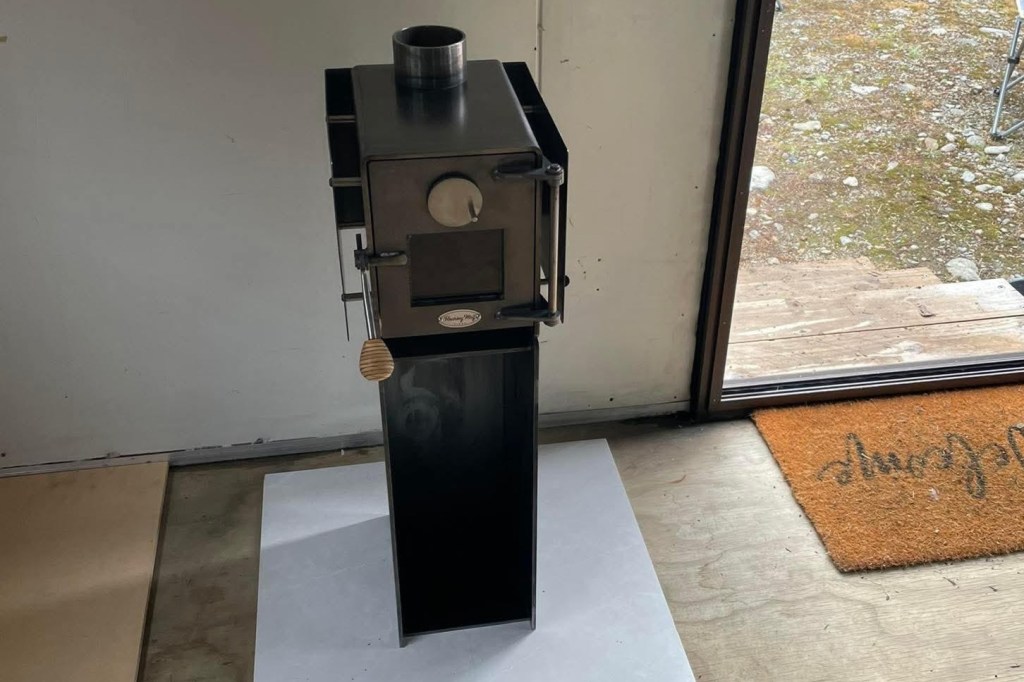
There are a number of companies selling smaller fires for tiny homes but the one that stood out was Roaring Meg Fires. This is a New Zealand based business and we loved the hand crafted essence of the fires. Roaring Meg Fires is a one man (plus Milo the dog) operation, John is a steel fabricator by trade and a master craftsman who builds these beautiful fires to order. There is usually a 4-6 month lead in time, so I decided to bite the bullet and order one to have it in time to install before winter came around again. The fire we chose for our small 21 square metre Shut was the Mini Meg with a 4-5kw heat output.
We opted for the natural steel and stove polish finish and added on the optional extras of a wood box and heat shield. The heat shield will protect the walls from getting too hot given the fire will be placed reasonably close. The wood box is practical storage for firewood in a small space, and looks great with wood stacked in it. In hindsight, the shot blast and paint finish on the fire would have been a better option in our damp climate. Rust does appear occasionally on the steel surface; however, it is fairly easy to brush off and tidy up with another coat of stove polish.
We planned on paying a professional from the local heating retailer to install the fire. At this stage we weren’t confident two weekend DIYer’s cutting holes in the roof of a leaky building was a sensible option. Unfortunately, we were forced to abandon this plan when the local man arrived, took one look at the fire, listened to us explain what we wanted, muttered a few words, then promptly left never to be heard from again.
On reflection, it is likely his departure related to the non-compliance of the installation which we were starting to comprehend. If I had been paying closer attention I would have realised the Mini Meg was designed to be installed in “tiny homes, boats and house buses” where a permit is not required. Short of putting wheels on the Shut and calling it a Shus (Shed-bus) we were about to break the rules, and this meant we were on our own.
Left with no other option we spent 8 hours one Saturday in June 2024 following the instruction booklet methodically, working together productively, problem-solving respectfully, and as a result at the end of the day the Mini Meg was installed.
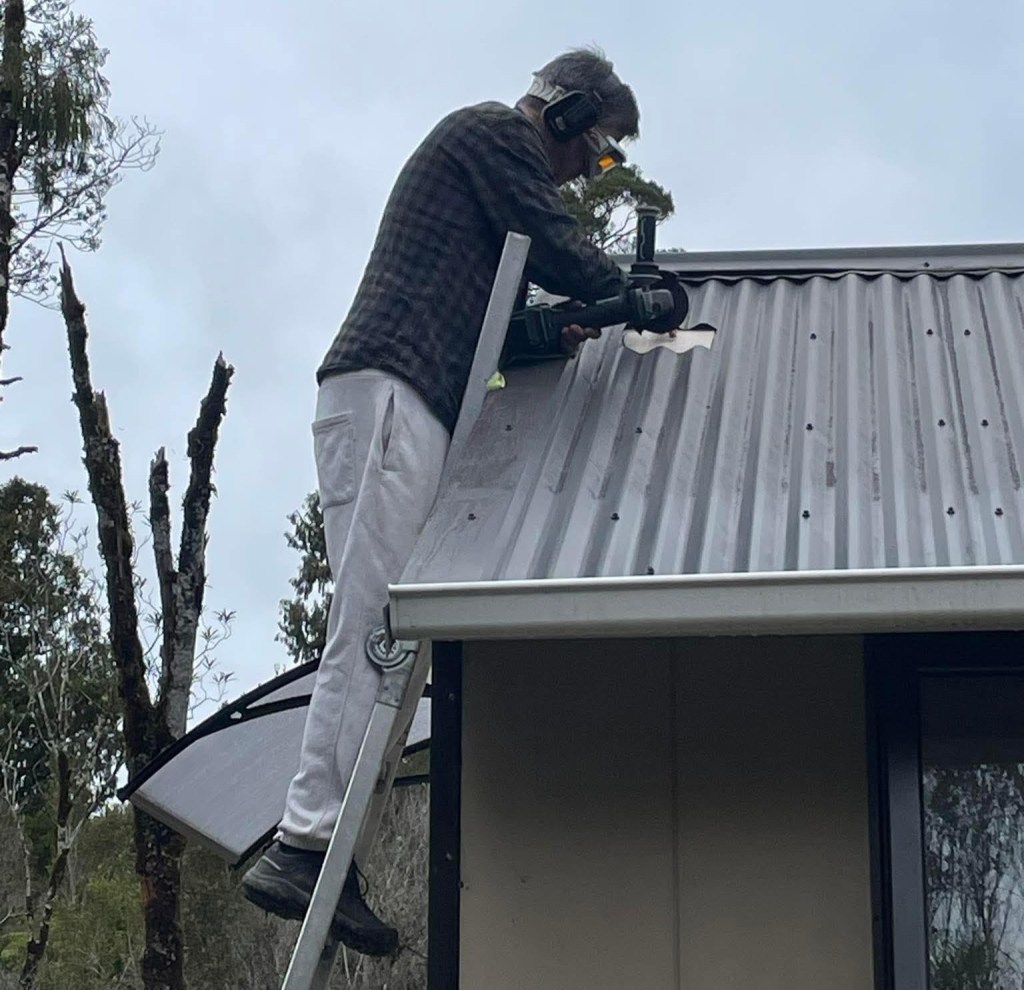
Here is Mike cutting a hole through the metal roof and interior cladding for flue insertion. The ski googles are a must when cutting through steel with an angle grinder.
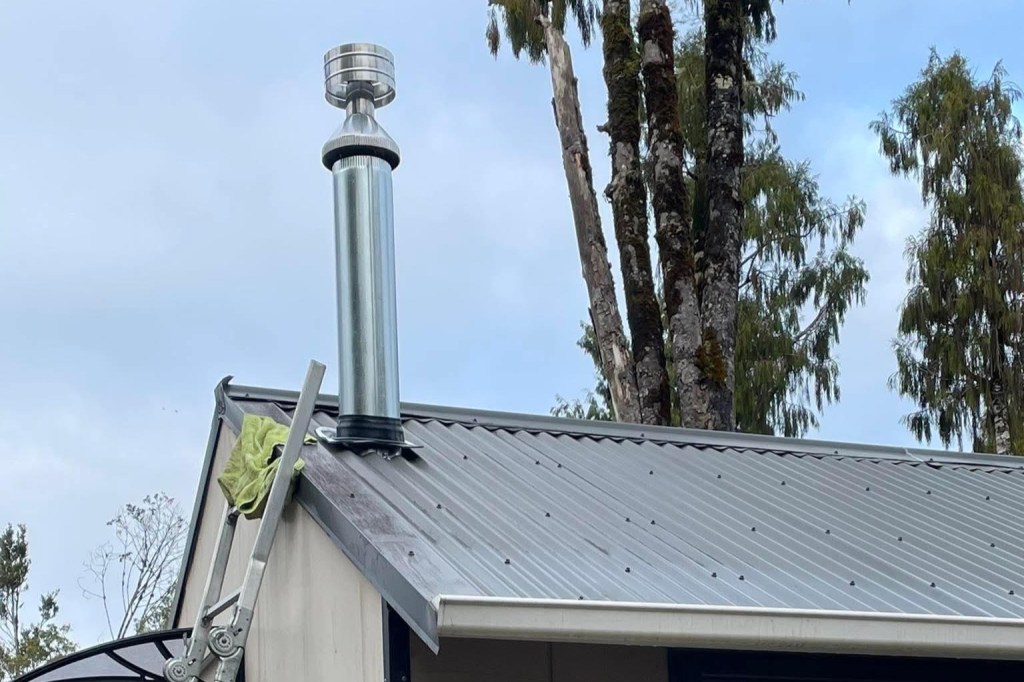
That’s a nice looking flue. The rubber boot was a little tricky to slide on being an extremely tight fit. It was also difficult gluing down the short rubber flaps onto the undulating corrugated iron roof. It wasn’t the tidiest of jobs but it did the trick. In the weeks ahead we noticed a small water leak and Mike got back up on the roof to add more silicone around the boot which fixed the problem.
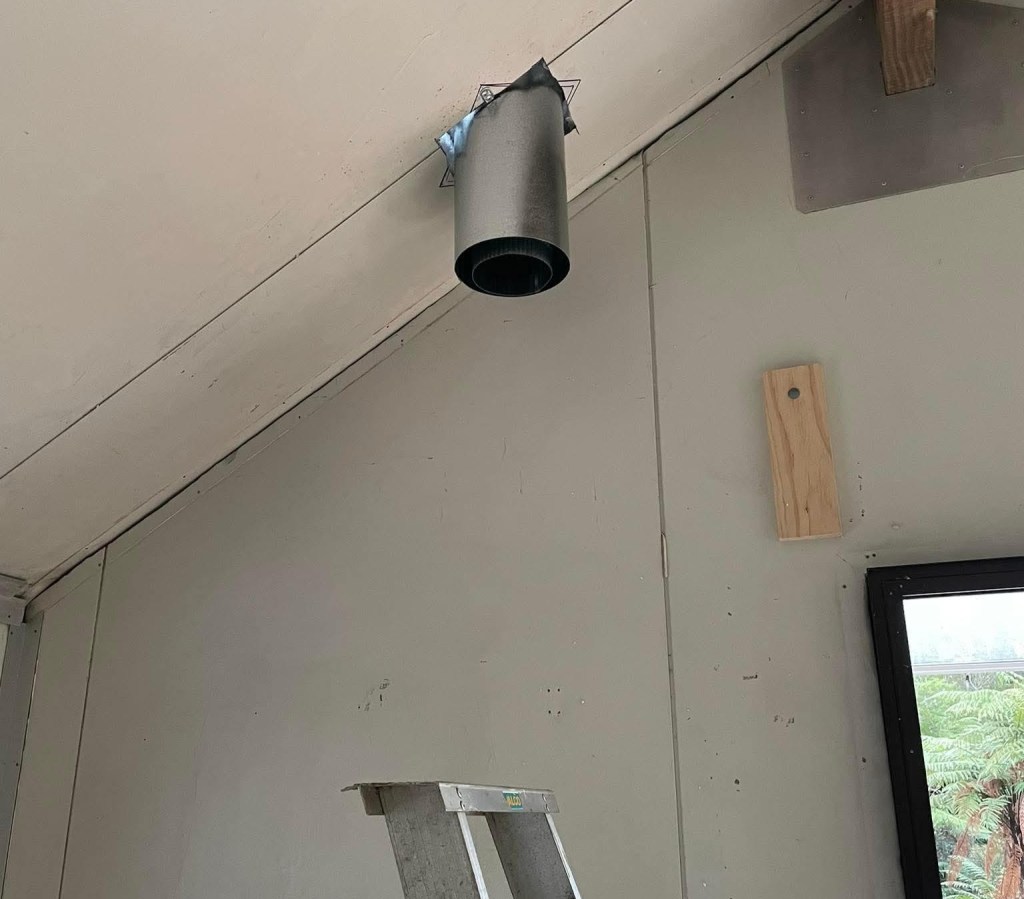
We opted to not join the inner flue together before feeding it down through the outer flue casing positioned in the hole in the roof. It was deemed a health and safety risk attempting to balance a long tube of steel on top of a ladder. In hindsight, this was probably a bad decision because we did strike issues working from both ends to join the flue together in-situ. At one point it came unglued within the outer metal tube through the ceiling cavity and we were flying blind at either end trying to reattach it before the fire cement dried. While a little stressful at the time we can look back fondly and refer to this incident as ‘team-building’.
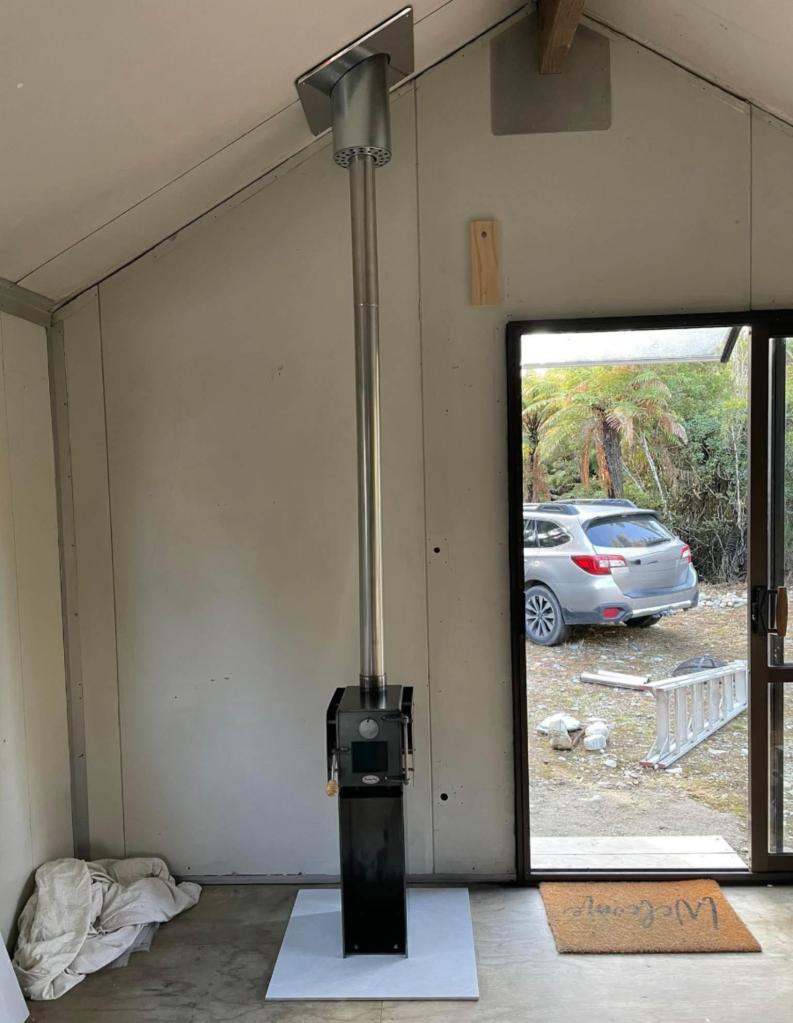
We ended up unbolting the bottom and shifting the fire over about an inch to align it more accurately with the ceiling plate and straighten the flue. While Mike was cutting holes in the roof I had drilled four holes through a left over bathroom tile to sit the fire on. The ceiling plate came with the flue kit and the shape of the hole is dependent on the slope of the ceiling. There is a mathematical calculation to determine the exact size of the oval which was beyond me. Fortunately, John was very helpful and worked it out based on the measurements I emailed through. Allowing for the slope was also important when cutting the correct size hole through the roof. Originally we cut this to the width of the flue which didn’t allow for the pitch of the roof and we needed to go back and widen the hole to fit.
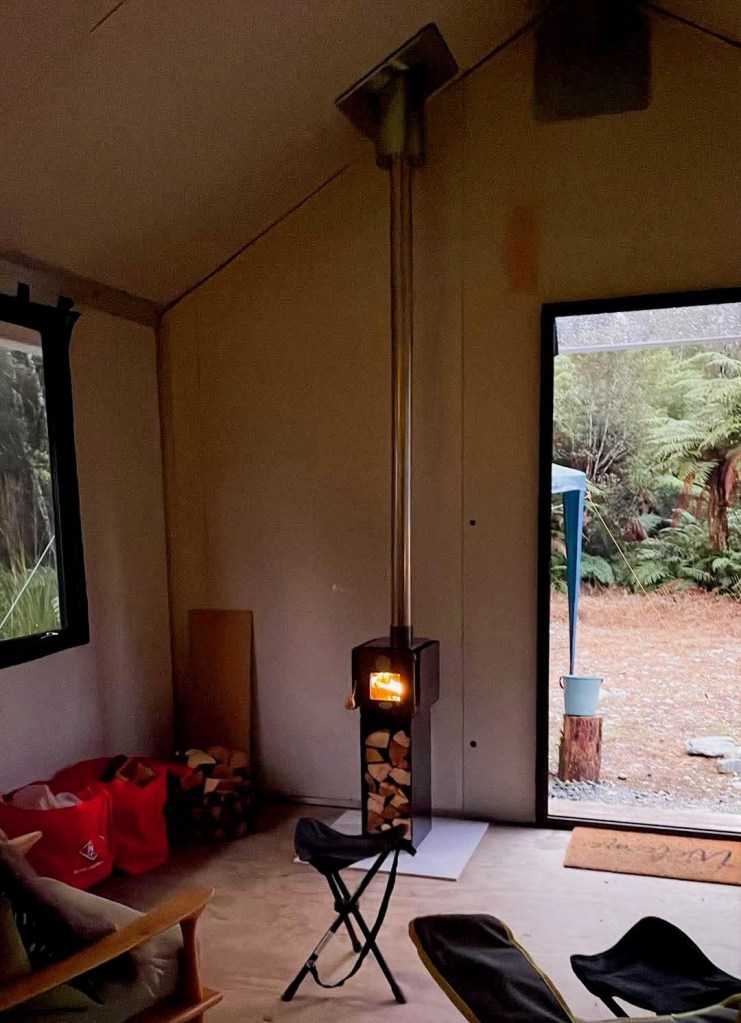
Having this fire in the Shut has been an absolute game changer. It works brilliantly, burns the wood efficiently, and looks amazing. I would 100% recommend a Mini Meg Fire to anyone looking to heat a small space. I love the light cast from the flicker of flames in the early morning when I’m snuggled in bed under the goose down quilt. On a winter’s night we sit in front of the fire, sipping tea, hot chocolate, or a shot of ruby port, and appreciate the simple pleasures in life that bring so much joy.

Leave a comment